Several years ago I lived in an apartment with a large living room. An enormous tree grew right in front of the window, effectively blocking the window and making the room dark and dreary. The living room for all its spaciousness was not where I wanted to be. Like us, plants need light, and providing the right light for orchids is actually quite easy.
The right light is essential for orchids to photosynthesize – the process plants use light to make food from carbon dioxide and water. The proper light makes flowering possible. In providing light to your orchids there are just 3 things you need to know about light: intensity, duration, and quality.
Chances are if your orchid won’t bloom, it needs more light. Here’s what you need to know about light. Hint: you can do this!
If you want to know where to cut your orchid’s flower spike, start by downloading my free cheat sheet to see where to cut the orchid flower spike after the blooms have faded to trigger re-blooming. Click here for the cheat sheet. It’ll be super helpful.
Some of the links on this page may be affiliate links. Click here to learn more.
1- Light INTENSITY
Light intensity refers to the strength of the light. When thinking about light – think of Goldilocks, it has to be just right.
If the light isn’t strong enough, the orchid won’t produce enough energy to produce flowers. The overall vigor of the plant will be weak. Leaves will be thin and long. The plant will be leggy and straggly.
On the other hand, too much light and the leaves will sunburn. Not only do sunburned leaves look ugly, but it also reduces the surface area on the leaves where the plant can photosynthesize.
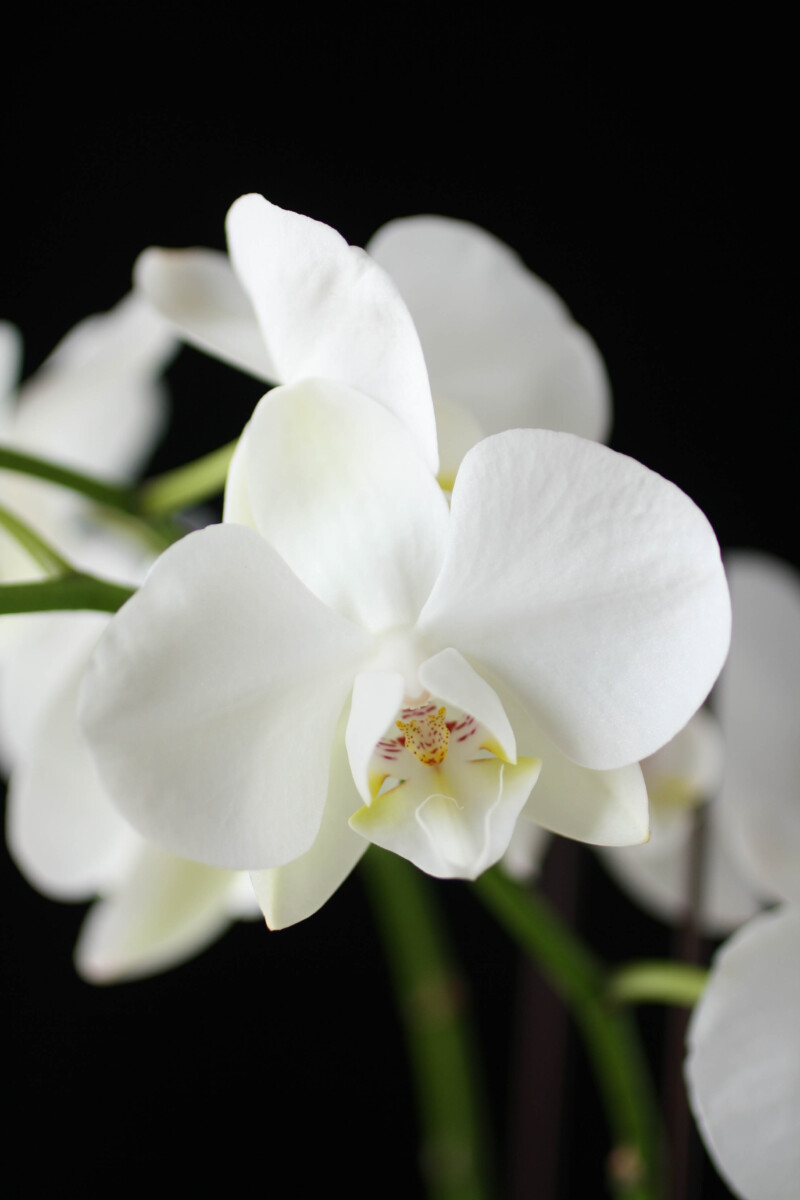
If the light intensity is just right – the orchid will be able to use light to convert carbon dioxide and water into energy. Leaves will be strong, and light in color. The orchid will use its stored energy to produce flowers – just as nature intended.
To get the light intensity right there are a couple of things you can do:
- Find the right location
- Measure the light
Find the Right Location
First, if you are growing your orchid in a windowsill, an east-facing window is generally considered ideal. In climates with a lot of cloud cover, a full south exposure may be the right location. North-facing windows generally lack sufficient intensity, while west-facing windows can be too intense. The intense afternoon sun that shines through on west-facing windows can be minimized by hanging a thin, sheer curtain.
Growing Orchids Indoors With Natural Light – Location Location Location
The goal is to give the orchid enough light that it can grow and flower without sunburning. While it may be tempting to place an orchid right up close to a window, that practice is not necessary, and may even be harmful to the orchid. Placing your orchid a couple of feet away from the window, but not right in the middle of the room, is usually just the right light for orchids.
Measure the Light
Second, you can measure the intensity of the light. There are 4 different ways to do this.
- Light meter
- Light meter app
- Your hand and a piece of white paper
- The orchid’s foliage
Let me quickly talk about two measurements of light-foot candles and lux. Light for orchids is traditionally measured in foot candles. A foot candle (fc) is the amount of light one candle emits from one foot away. So, if the orchid requires 1500-foot candles that means that it would take 1500 candles 1 foot away from the orchid to get enough light.
You can also measure light intensity in lux, the basic unit of illuminance, the metric system unit of light measurement. Online there are numerous calculators that will convert lux to fc and fc to lux. Or, you can do the conversion yourself.
Light Meter
The most accurate way to measure light is to use a light meter. You can buy an expensive light meter, use a camera, or you can download an app on your phone.
Light Meter App
The apps can be free, or low-cost.
Hand Method
Another method, that’s not as accurate, but is still helpful and doesn’t require anything except your hand, is the hand method. To use the hand method, hold your hand 8-10” away from a white piece of paper in the area where you want to measure the intensity of the light. See the table to see how to “read” the hand method.
Foliage
Generally, the leaf color of orchids should be light green, not dark green. In addition, elongated, stretching orchids need more light.
3 Ways to Measure Light IntensityLight Intensity
Foot-Candle
Lux
Hand-Paper
Intense
4000 - 5000
43056 - 53819
Clear outline of hand
Very Bright
3000 - 4000
32291 - 43056
Soft-edged outline of hand
Bright
2000 - 3000
21528 - 32291
Blurred outline of hand
Low
1000 - 2000
10764 - 21528
Hard to see outline of hand
Light Intensity | Foot-Candle | Lux | Hand-Paper |
Intense | 4000 - 5000 | 43056 - 53819 | Clear outline of hand |
Very Bright | 3000 - 4000 | 32291 - 43056 | Soft-edged outline of hand |
Bright | 2000 - 3000 | 21528 - 32291 | Blurred outline of hand |
Low | 1000 - 2000 | 10764 - 21528 | Hard to see outline of hand |
Light Intensity by GenusGenus
Foot Candles
Lux
Brassia
2000 - 3000
21528 - 32292
Cattleya
2000 - 4000
21528 - 43055
Dendrobium
1500 - 5000
16146 - 53819
Paphiopedilum
1000 - 2000
10764 - 21528
Phalaenopsis
1000 - 1500
10764 - 16146
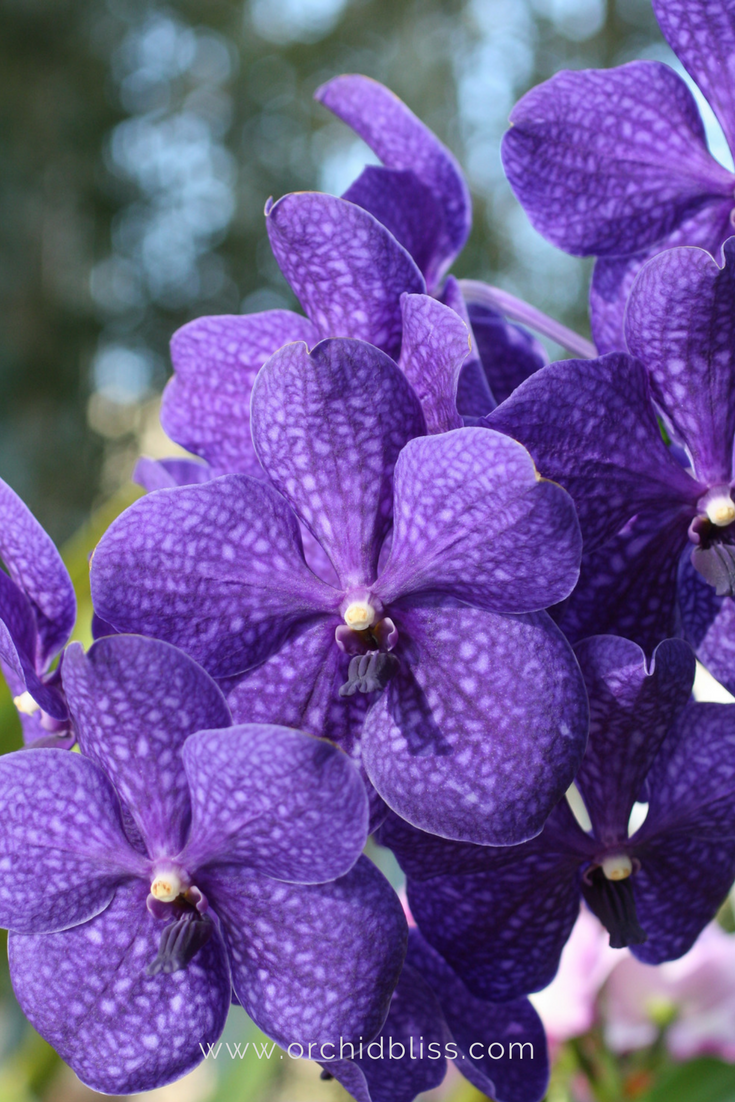
Vanda
4500-5000
48437 - 53819
Genus | Foot Candles | Lux |
 Brassia | 2000 - 3000 | 21528 - 32292 |
 Cattleya | 2000 - 4000 | 21528 - 43055 |
 Dendrobium | 1500 - 5000 | 16146 - 53819 |
 Paphiopedilum | 1000 - 2000 | 10764 - 21528 |
 Phalaenopsis | 1000 - 1500 | 10764 - 16146 |
 Vanda | 4500-5000 | 48437 - 53819 |
2-Light DURATION – Photoperiod
Light intensity refers to the strength of the light and duration measures the length of the day or the photoperiod.
The day length changes with the seasons. The closer you are to the equator, the more consistent the day length, and the further you are from the equator, the more the season affects light duration. In Alaska, the days are long in the summer and short in the winter. In Central America, there’s day length remains the same year-round.
What this means for us is that we need to place our orchids in a location where they will receive a consistent day and night schedule.
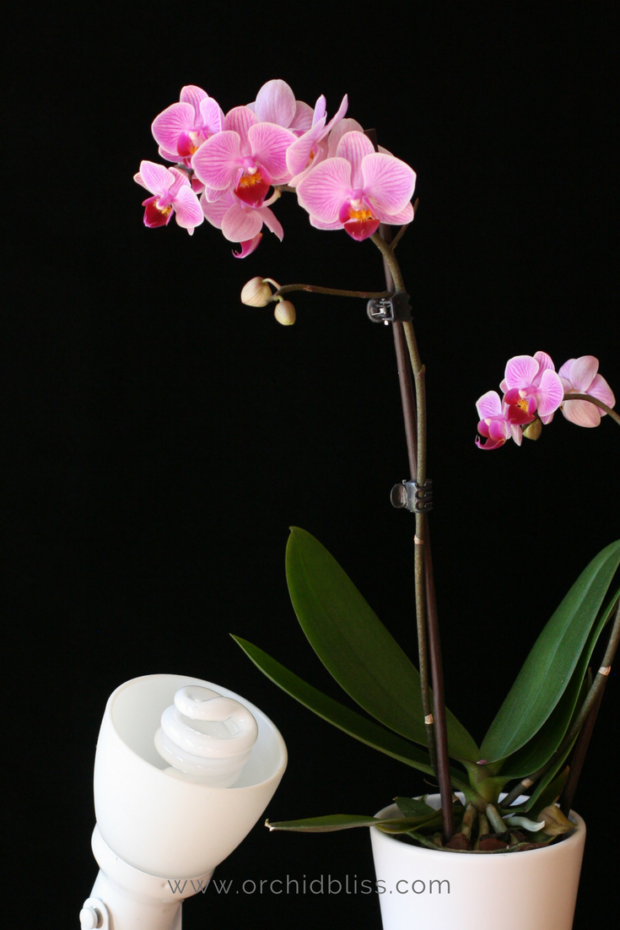
If you use artificial lights, timers are invaluable. It might be tempting to leave the lights on all the time, thinking that the more light you get, the more they will grow. This isn’t true. Orchids need night, just like they need day. Timers lend consistency. If you use a timer, you don’t have to remember to turn the lights on in the morning and off at night. You can go on vacation. Timers automate light duration for you. I love timers!
3- Light – QUALITY
So far, we’ve discussed the strength of the light (intensity), and the photoperiod (light duration). Now, let’s talk about light quality, or the amount of red, far-red, green, and blue light coming from the light source.
If you grow your orchids outdoors or in a greenhouse your orchids will naturally get the full spectrum of light needed to grow. If you grow your orchids on the windowsill, or under lights, light quality becomes an important factor. Some windows block ultraviolet light. And, not all artificial light emits the correct distribution of the light wavelengths needed. Both fluorescent and LED light can provide the full spectrum of light needed to successfully grow orchids.
Growing Orchids Indoors with Artificial Light
I started out growing all my orchids on a window sill, but as my collection began to expand, I needed more space. That’s when I high-jacked the grow light system I had given to my husband.
Before going into depth on growing orchids under lights, I want to give a shout-out to horticulturist, Steve Frowine. I’ve learned a lot about growing orchids under lights from him. He has grown orchids for over 50 years and is the author of several books on growing orchids.
If you aren’t sure about using artificial light to grow orchids, here are 6 reasons to give lights a try:
- For windowsill growers, in the summer it can get very hot and the light can become too intense when the sun pours in. By growing orchids under lights, the light intensity is easier to regulate.
- After introducing artificial lights I was able to grow more orchid varieties. My miniature Cattleyas and Dendrobiums flourish under lights.
- Grow light system facilitates blooming. I was thrilled when my Cattleya bloomed using the grow light system.
- I had a lot more space to grow my orchids than I did before. I set up the grow light system on a counter and the orchids do well, blooming, and putting out new roots, and leaves.
- Fluorescent bulbs are cheap and readily available.
- LED grow lights are becoming less expensive and easier to come by.
Fluorescent Lights
3 Things to Look for When Buying Fluorescent Bulbs
- The Color Rendering Index (CRI) should be a minimum of 85, but preferably in the 90s. (The higher the number the better).
- Color Temperature (Kelvin), shoot for bulbs between 5000-6500 K.
- Lumen Output. This is a method for measuring light brightness. The higher the number, the more efficient the bulb is. Choose a bulb with the highest lumen per watt.
LED Lights
Recently, I’ve added LED lights to my orchid-growing menagerie. Here’s the scoop on LED (light-emitting diode) lights:
As plants require the distribution of blue, green, red, and far-red light, it is recommended that you choose a full-spectrum LED light bulb. By purchasing an LED light that is specially designed for indoor plants you’ll be buying a light that provides the full spectrum of light for your orchids. LED lights designed for hydroponics will suit your orchids.
Use A Timer
As mentioned earlier, using a light timer makes artificial lighting even easier. Leave the lights on between 12-16 hours a day. Never leave the lights on for 24 hours a day. Orchids do need a rest at night.
Why Artificial Lights Work
- Orchids need certain a certain quality of light – particular colors in the light spectrum to bloom and grow – and full-spectrum fluorescent bulbs and LED lights can provide those colors.
- Fluorescent bulbs and LED lights can provide evenly distributed light, which helps prevent sunburning the orchids.
TIP: Compact orchids do much better under lights than tall orchids as the intensity of the light diminishes the further the orchid is from the bulb. The Cattleyas and Dendrobiums I grow under lights are miniature varieties. Place the bulb 6 to 12 inches above the orchid’s leaves.
Which Orchids Grow Best Under Lights?
For best results, grow orchids with low to medium light requirements under lights such as the Phalaenopsis and Paphiopedilum, and compact orchids, those under 12 inches.
TIP: The light intensity is strongest in the center of the fluorescent tube. Set your Cattleya in the middle and your Phalaenopsis on the ends of the tube.
Tips to Give Orchids More Light
In addition to placing your orchid in the right location and providing artificial light when needed, there are a couple more things you can do to give light to your orchids.
- MIRRORS – you can double the amount of light by placing mirrors opposite a window or light bulb. Adjust the angle of the mirror so that you don’t burn the orchid, but instead illuminate a former shadow.
- ROTATING PLANT TOWARDS LIGHT SOURCE – Orchids, like all plants grow towards the light. This is especially important if the orchid’s light source is a window and the light comes in from one direction. I have found that by rotating a phalaenopsis orchid, I can get the flower stalk to grow more upright.
How to Tell if Orchids Have the Right Light
There are two good indicators that will tell you if your orchids are getting sufficient light.
- Flowers. Blooming takes a lot of energy, which comes from getting enough light. If you have enough energy to bloom normally (right season, right color), it is getting enough light.
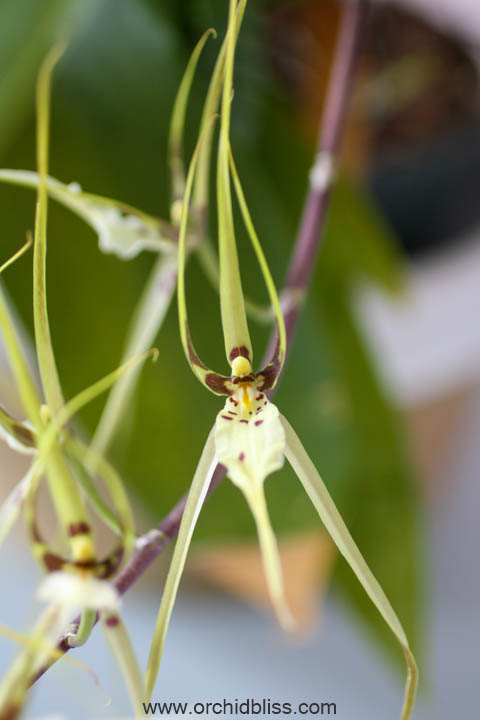
- Leaves. The leaves should be light green in color, and generally, the leaves should be upright, short, and firm. Some orchids such as Cymbidiums and Oncidiums do have long thin, arching leaves.
How to Tell if Orchids Have Too Much Light
- Sunburn. Just like us, orchids can sunburn, resulting in a large black spot with a yellow ring around it. If leaves are hot to the touch, they are too warm.
- Yellow leaves. Orchid leaves should be bright green. Yellowish leaves can indicate too much light.
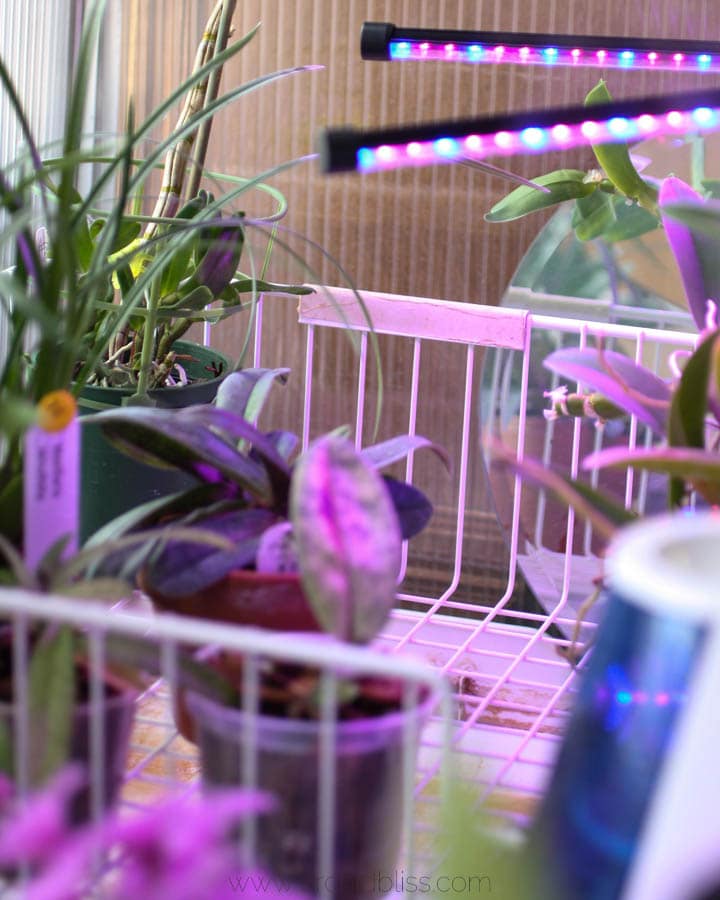
Here is a peek into my basement where I grow my orchids. This is the grow light system I use. To the far right, you can see a bit of the humidifier I use. (The humidifier I use is no longer available, but here is a link to another humidifier.) To the left of the humidifier you can see the humidistat I use to track humidity and temperature. Out of sight on the left, there is a fan to keep the air moving and a timer for the lights. Under these lights, I grow Cattleya and Dendrobium orchids. The Dendrobium in the very center is growing some flower spikes. It’s hard to see in this image, but one of the Dendrobiums in the back has several keikis (offsets) that have started to grow.

Here is a peek into my basement where I grow my orchids. This is the grow light system I use. To the far right, you can see a bit of the humidifier I use. (The humidifier I use is no longer available, but here is a link to another humidifier.) To the left of the humidifier you can see the humidistat I use to track humidity and temperature. Out of sight on the left, there is a fan to keep the air moving and a timer for the lights. Under these lights, I grow Cattleya and Dendrobium orchids. The Dendrobium in the very center is growing some flower spikes. It’s hard to see in this image, but one of the Dendrobiums in the back has several keikis (offsets) that have started to grow.
To help you further, start by downloading my free cheat sheet to see where to cut the orchid flower spike after the blooms have faded to trigger re-blooming. Click here, for the cheat sheet. It’ll be super helpful.
Your Turn
Giving light to your orchids will help your orchids give back to you by flowering. Although I have discussed both growing orchids at a windowsill and under lights, don’t feel like you have to use lights to grow orchids.
If your windowsill is providing your orchids with the light they need, then keep using this method. If, on the other hand, your orchids aren’t blooming like they should, setting up a simple grow light system may be the solution you are looking for.
Once your orchid flowers have opened up, you can bring them out from under the lights and into the living area of your house so that you can enjoy the flowers. Just be careful not to bring them out too soon. Not long ago I had a Phalaenopsis that was loaded with buds. I was anxious to see the flowers open and brought the orchid to my kitchen table. I lost a few buds to bud blast.